While the cabinet is being cleaned and repaired – the work on that action can begin.
Overall, the action parts (i.e. the wood) is in good condition. No signs of brittleness, warpage, etc.. So, to help reduce costs, most of the action wood will be reused in this semi-rebuilding.
New hammers, whippens, stickers, and dampers flanges with new center pins are to be installed. Along with a complete replacement of all cloths, leathers, felts, springs, hammers, dampers, etc..
While this may not technically qualify as a “remanufactured” rebuilding – the ability to reuse perfectly good parts will reduce the costs and will help retain some of the original piano’s character.
A few photos showing the state of the old action…

The old action

The old action

The old action
It is important to be sure each part returns to its exact position in the action, so first every part is numbered. We can then start removing action parts.

Removing parts
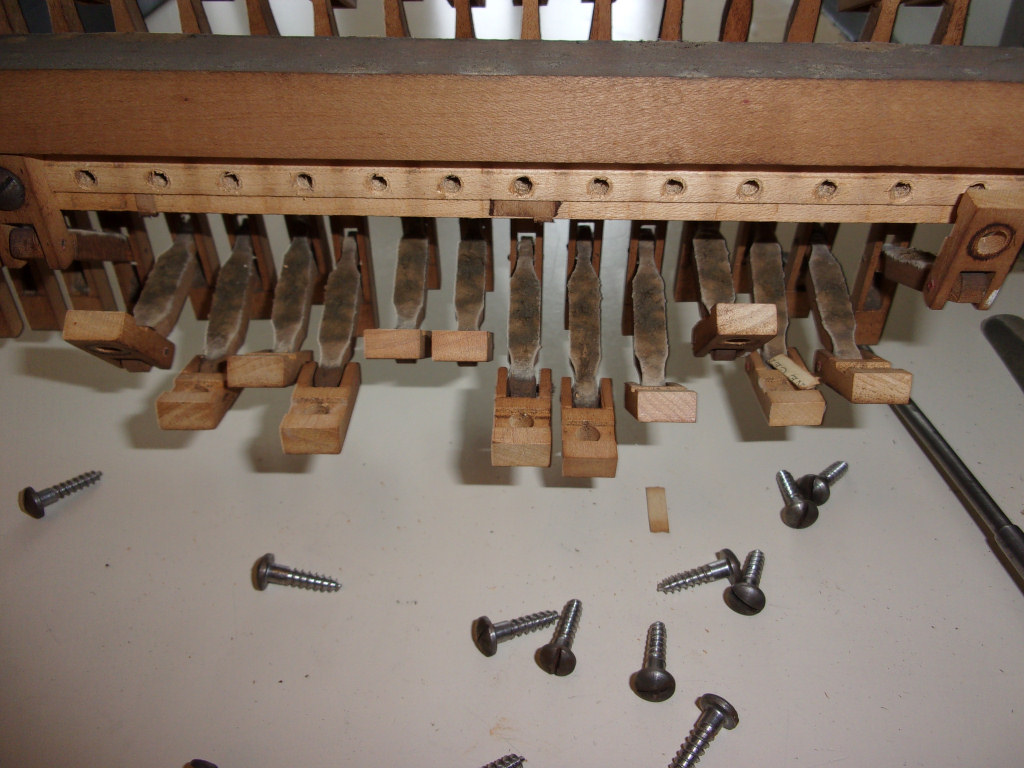
Loosened sticker flanges

Whippen, sticker, and jack
Below, all the major parts are off.

Mostly empty action frame
You can still see the regulation rail (back ground) and the hammer butt flanges (foreground). This McPhail doesn’t use the more common hammer butt flange setup – but rather a steel plate on the hammer butt clamps over the center pin of the flange.

Close up of hammer butt flange plate
Below, one of the hammer/hammer butts.

The old hammer and hammer butt
We begin by removing all the old felts and leathers, and giving it an initial brushing to remove the initial layer of dirt. Each part will be cleaned better before being rebuilt.
Here is a photo after the removal.

All felts and leathers off
The process then continues for every part of the action.
1 comment for “Starting The Action (step 1)”