Pianos tend to collect a good bit of dust, dirt, and everything else. Before many repairs can be made, the piano need to be thoroughly cleaned.


First, we try to get everything that will come off with a vacuum.


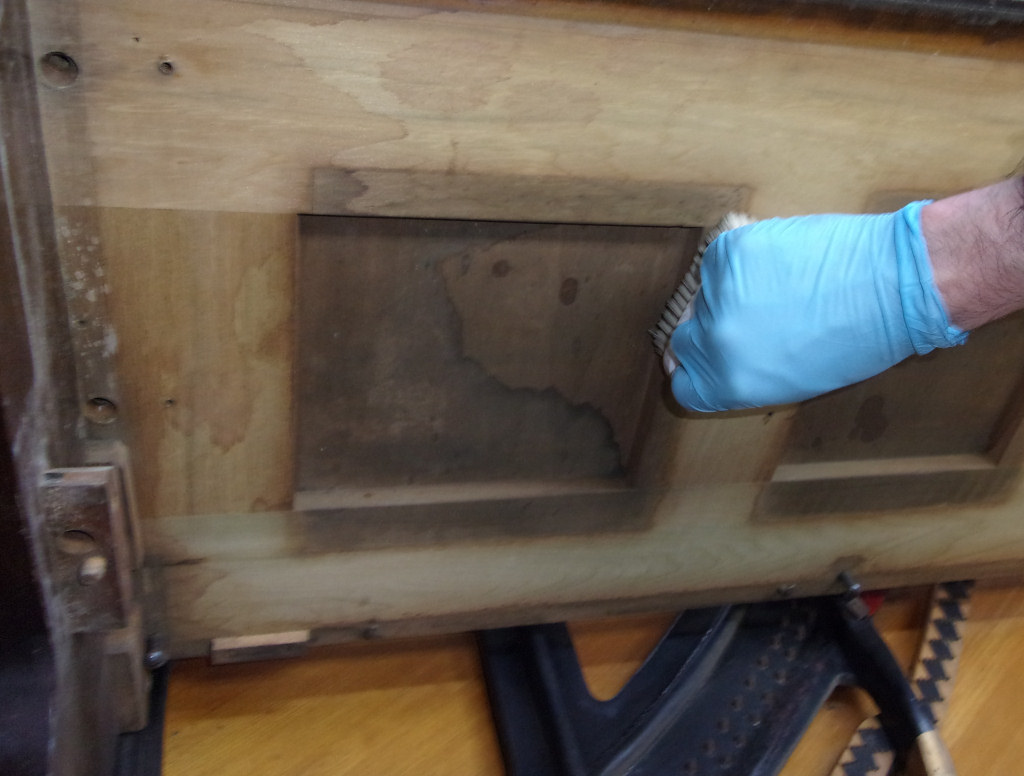
While the vacuum gets up some of the loose dirt and dust, much of it is stuck to the surfaces – so the next step is to grab a few brushes of various sizes and start scrubbing the dust off.


Now vacuum all that loose dirt up, and then on to the bath.

A container of water with just a touch of mild soap, a well wrung out rag, and everything gets wiped down – with much rinsing and wringing. This should remove much of the water soluble dirt.
We then use a little paint thinner (odorless) and some fine steel wool to quickly go over the piano again. This will remove oil soluble dirt.
Wrap it up with another going over with a wash down with water and just a touch of Murphy’s Oil Soap® – follow that up with another quick vacuum and DONE.
The inside of the piano looks a good bit better than it did.
Before:
After:


Now we can start making it dirty again with our work – but at least it is new dirt. Bridge pins, hitch pins, etc., will all need polishing (but the results are quite easy to vacuum up).

Action Mount – Before (cardboard is there to protect the plate)

Action Mount – After
Once everything inside the piano is clean, we can then start making repairs.
Then… on to sealing the inside up in preparation to remove the old finish and apply a new.
While this post didn’t mention everything – it gives a good idea of the process.